Well, I did end up getting some of them from Scrappit and are pleased to say they are really easy to use and have such a pretty and unique effect when used that I know they are going to end up being my favourite tool.
So How did I go? Well first off I chose not to buy another machine simply to use the dies. Rather I did some searching and playing and have come up with the perfect recipt for using them with my cuttlebug!!
To cut with the dies -
- Place plate A down first.
- Layer plate C on next.
- Place the die face up next - that is ridges side up.
- Layer your card over the top of the die.
- Place plate B over the op and feed through your machine.
Now, at this point you'd notice there actually is a bit of embossing happening. You may like to leave it at that or emboss deeper by -
- Place plate A down first.
- Layer plate B on next.
- place die face up again but this time with the card still in the die.
- texture mat and embossing board.
Now here's the tricky part, Sellbinders, the company that create nestabilities actually created a tan embossing mat and embossing board as a set but they aren't all that easy to come by. As an alternative I used a Sizzix Big Shot Silicone texture mat and impressions pad. They did exactly the same job and I was able to purchase them directly through Scrappit.
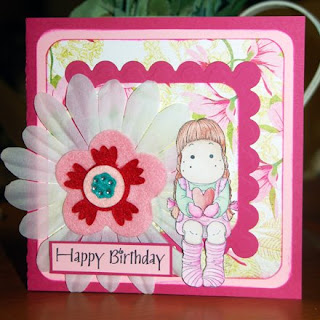
I created this card using the largest one of the scalloped square sets and layered it with several layers of patterned paper for a pretty effect. You can find this set here at Scrappit.


No comments:
Post a Comment